Xilinx tools and Git: Vitis HLS

Sometimes while working with Xilinx tools the question arises how to save your results or share them with your team for collaborative work. In the modern world, Git repositories are usually used to exchange source code. But working with them can be difficult when Xilinx tools are used. This article is dedicated to adopting Xilinx Vitis HLS to Git workflow. Also, along the way, we’ll touch on build automation of Vitis HLS IP cores.
This is an example of a clean Vitis HLS project with 2 solutions before any build:

Source code files are in a separate directory. As we can see, there are too many files with unclear purposes. If we simply add all of them to Git we need to track such meaningless changes:
./settings/language.settings.xml:

./.cproject:
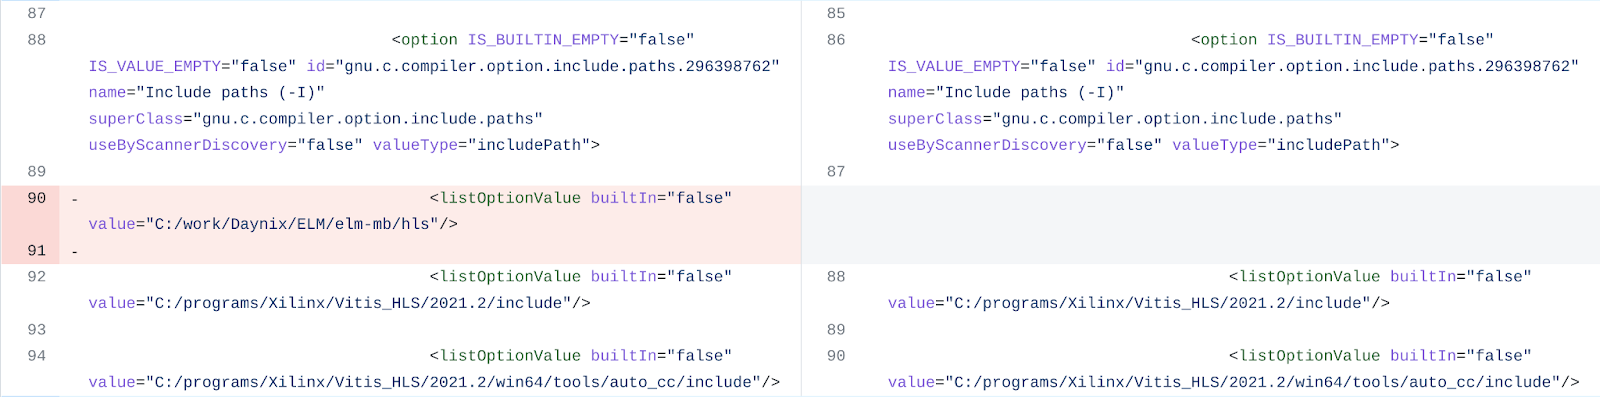
./.project:

In fact, there is much more such garbage. These changes are made automatically by Vitis HLS and hard for interpreting by humans. They complicate understanding what the real changes were made in the project and also complicate code transfer to another PC.
Fortunately, all of such changes can be ignored if we adopt Tcl scripting built in Vitis HLS.
Basics of Tcl scripting in Vitis HLS
The first thing we need to know is that Vitis HLS can run commands from an arbitrary Tcl script specified through command line:
vitis_hls my_script.tcl arg0 arg1 arg2 ...
Where arg0, arg1, arg2, etc. are command-line arguments available through $argv inside the script.
Auto-generated Tcl scripts
After creating the new Vitis HLS project in GUI, the newly created solution contains two auto-generated Tcl scripts:
One of them, script.tcl contains source and testbench file paths and project settings (e.g. top function, target device and clock period) we entered during project creation.

At the moment, script.tcl contains all necessary information about our newly created solution. Vitis HLS always updates script.tcl when solution settings or sets of source and testbench files are changed.
Second auto-generated and auto-updated Tcl file, directives.tcl contains directive commands, such as set_directive_inline. It is simply included in script.tcl by source command. It becomes needed when directives are inserted and the destination option “Directive File” is selected.
The project information can be fully restored only by script.tcl and directives.tcl. It means we can add only source/testbench files and these Tcl scripts to the Git repository.
Saving the project
For example, in the project above we need to add and then commit only 4 files:
git add src/example.cpp
git add src/example_tb.cpp
git add example/solution1/script.tcl
git add example/solution1/directives.tcl
git commit -m "example: make an update"
Other files may be deleted. Let’s find out how we can load the project with committed files.
Loading the project
Suppose we have fetched 4 files discussed above from the repo and would like to load a project in Vitis HLS GUI and continue working on it.
The open_tcl_project opens a Vitis HLS project by running a Tcl script, such as script.tcl, but skipping csim_design, csynth_design, cosim_design, export_design commands. More accurately, the open_project command in script.tcl creates a project from scratch, then next commands in script.tcl add settings and files to this newly created project.
The close_project command closes the project and prevents from running commands specific to the opened project. It is optional, but it is better to use it to prevent possible errors.
Now, we can combine these commands to a Tcl script, i.e. open.tcl:
open_tcl_project example/solution1/script.tcl
close_project
At this point, we have files from Git repository and our new script:

Now we can run it in Vitis HLS:
vitis_hls open.tcl
Vitis HLS will generate all necessary files and exit back to the console:

Now, the example project can be opened in Vitis HLS GUI through the “Open Project” dialog. Then we can continue working on the project in Vitis HLS GUI as usual. At some point, we can add and commit script.tcl and directives.tcl along with source files to the Git repository to save project change.
If necessary, we can make the script more universal:
set project [lindex $argv 0]
set solution [lindex $argv 1]

open_tcl_project $project/$solution/script.tcl
close_project
vitis_hls open.tcl example solution1
IP export automation
Usually, the end goal of a Vitis HLS project is to export an IP core to Xilinx Vivado. To run C synthesis the csynth_design command is used. The export_design command runs exporting RTL IP core as ZIP archive. We can combine them with our previously known commands and create a new Tcl script, i.e. export.tcl:
set project [lindex $argv 0]
set solution [lindex $argv 1]

open_tcl_project $project/$solution/script.tcl
csynth_design
export_design -format ip_catalog -rtl verilog -vendor Daynix -output "$project.zip" -display_name $project
close_project
To produce example.zip with Verilog IP:
vitis_hls export.tcl example solution1
Conclusion
We have discussed how Tcl scripting helps to save and load Vitis HLS projects to the Git repository and automate IP exporting. Only a few Vitis HLS commands required to set up workflow have been considered. Full reference is available at Vitis HLS Command Reference.
One of the next posts will be about adopting Xilinx Vivado to Git workflow.